Your Nissan Navara has been serving you well, hauling loads and getting you through tough jobs. But now you’re dealing with something frustrating: a fuel gauge that won’t tell you how much gas you’ve got left. You might glance down and see the needle stuck on empty, even though you just filled up yesterday.
This isn’t just annoying. It’s actually risky because you could run out of fuel when you least expect it. Maybe you’re out on a job site or heading home late at night, and suddenly your truck sputters to a stop. Nobody wants that kind of surprise.
In this guide, you’ll learn exactly why your fuel gauge stops working, what causes the problem, and most importantly, how to fix it yourself without spending a fortune at the mechanic shop.
What’s Really Happening With Your Fuel Gauge
The fuel gauge system in your Navara is simpler than you might think, but it relies on several parts working together perfectly. Inside your fuel tank, there’s a float attached to a sensor called the fuel sending unit. As your fuel level goes up or down, the float moves, and that movement changes the electrical signal sent to your dashboard gauge.
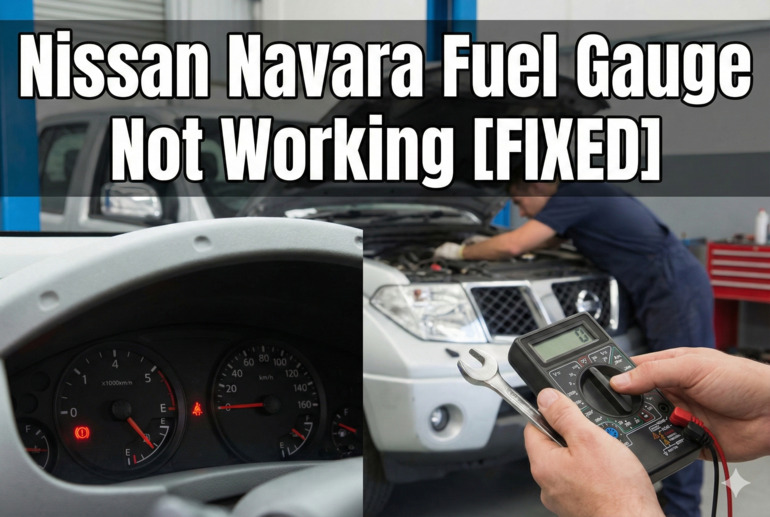
When this system fails, you’ll notice some telltale signs. The gauge might stick in one position no matter how much you drive or how much fuel you add. Sometimes it bounces around wildly, showing full one minute and empty the next. Other times, it just sits at zero all the time, making you guess when you need to refuel.
If you ignore a faulty fuel gauge, you’re setting yourself up for problems beyond just running out of gas. You might overfill your tank because you can’t tell when it’s nearly full, which can damage your evaporative emissions system. Or you could find yourself stranded on the highway, calling for a tow truck and losing valuable time.
Your truck might also trigger the check engine light if the problem involves electrical faults, and that can make it harder to spot other important issues that need your attention.
Nissan Navara Fuel Gauge Not Working: Likely Causes
Several things can knock your fuel gauge out of commission, and pinpointing the exact culprit requires a bit of detective work. Here’s what usually goes wrong and why it happens.
1. Faulty Fuel Sending Unit
The fuel sending unit is the workhorse of your gauge system, and it takes a beating over time. This component sits right inside your fuel tank, constantly exposed to gasoline and its additives. The float arm can corrode, the resistance coil can wear out, or the wiper contact can get dirty.
You’ll typically see this issue develop gradually. First, the gauge might read accurately when the tank is full but get wonky as you burn through fuel. The sending unit struggles most when the float is in certain positions, which is why you might notice the problem more at half-tank or below.
This part has to move smoothly thousands of times over your truck’s lifetime. Eventually, that mechanical wear catches up with it, and the signals it sends become unreliable or stop altogether.
2. Blown Fuse or Bad Wiring
Your fuel gauge runs on electricity, and that means fuses and wires are critical to its operation. A blown fuse is one of the easiest problems to have but also one of the easiest to fix. Fuses blow when there’s a power surge or a short circuit somewhere in the system.
Check your owner’s manual to find the fuse box location and identify which fuse controls the instrument cluster or fuel gauge specifically. If the fuse looks blackened or the metal strip inside is broken, that’s your problem right there.
3. Malfunctioning Instrument Cluster
Sometimes the problem isn’t with the fuel system at all but with the dashboard itself. The instrument cluster contains the actual gauge mechanism and the circuitry that interprets signals from the sending unit. Solder joints can crack, circuit boards can fail, or the gauge motor can burn out.
This issue often shows up alongside other dashboard problems. You might notice your temperature gauge acting up too, or maybe your speedometer is flickering. These symptoms suggest the cluster itself needs attention rather than the components in the tank.
4. Corroded or Loose Electrical Connections
Electrical connections in your Navara deal with heat, moisture, and vibration every day. Over time, the connectors at the fuel pump module or behind the instrument panel can corrode or work themselves loose. Even a tiny amount of corrosion can block the electrical signal completely.
This problem is sneaky because the connection might work fine when the truck is parked but fail when you’re driving over bumps. The vibration moves the loose connection just enough to break contact, and your gauge goes haywire.
Water can get into these connectors too, especially if you’ve been through deep puddles or if there’s a leak somewhere in the truck’s body. Once moisture gets in, it creates a green or white crusty buildup that stops electricity from flowing properly.
5. Failed Voltage Regulator in the Gauge
Inside your instrument cluster, there’s a voltage regulator that ensures your fuel gauge receives steady, consistent power. If this regulator fails, the gauge might still get power but not the right amount. Too much voltage makes the needle read high, while too little makes it read low or not move at all.
This component can fail due to age, heat exposure, or manufacturing defects. Some Navara model years have had more issues with this than others, so it’s worth checking online forums to see if your specific year had a pattern of voltage regulator failures.
Nissan Navara Fuel Gauge Not Working: DIY Fixes
Getting your fuel gauge back in working order doesn’t always require a trip to the dealer. Here are practical solutions you can tackle yourself, listed from easiest to most involved.
1. Check and Replace the Fuse
Start with the simplest fix first. Locate your fuse box, which is usually under the dashboard on the driver’s side or under the hood. Your owner’s manual has a diagram showing exactly which fuse controls the instrument panel.
Pull out the fuse using the fuse puller tool that should be in the fuse box. Hold it up to the light and look at the metal strip inside. If it’s broken or burned, replace it with a new fuse of the exact same amperage. Never use a higher-rated fuse because that can cause electrical fires.
If the new fuse blows immediately or within a few days, you’ve got a short circuit somewhere that needs professional diagnosis. But if it holds, you just saved yourself a big repair bill.
2. Inspect and Clean Electrical Connections
Pop your hood and locate the fuel pump connector, which is usually accessible from under the truck or through an access panel under the rear seat. Disconnect the connector and examine it closely for any green corrosion, bent pins, or moisture.
If you spot corrosion, spray it with electrical contact cleaner and scrub gently with a small wire brush or even an old toothbrush. Make sure everything is completely dry before reconnecting. Apply a thin coat of dielectric grease to the connection to prevent future corrosion.
Do the same check at the back of the instrument cluster if you can access it. Sometimes you need to remove the cluster itself to get at these connections, which involves removing a few screws and carefully pulling the cluster forward. Just be gentle with the wiring harness.
3. Test the Fuel Sending Unit
This requires a bit more effort but gives you definitive answers. You’ll need a multimeter to check the sending unit’s resistance. Access the fuel pump module, disconnect it, and locate the two wires that go to the sending unit.
Set your multimeter to measure resistance (ohms). With the tank empty, the sending unit should show a high resistance reading, usually between 80 and 110 ohms depending on your specific model. With a full tank, it should drop to around 10 to 20 ohms.
If the readings are way off or the multimeter shows infinite resistance (no connection), your sending unit is toast and needs replacement. You can also manually move the float arm and watch the resistance change smoothly. If it jumps around erratically, the unit is failing.
4. Replace the Fuel Sending Unit
Once you’ve confirmed the sending unit is bad, replacing it involves dropping the fuel tank or accessing it through a service panel. Some Navara models have an access panel under the rear seat, which makes this job much easier.
Before starting, run your fuel level as low as safely possible. Disconnect your battery’s negative terminal. If you have an access panel, remove the rear seat cushion and unscrew the metal cover. If not, you’ll need to support the tank with a jack and unbolt the straps holding it up.
- Disconnect the electrical connector and fuel lines from the pump module
- Remove the locking ring by tapping it counterclockwise with a brass punch
- Carefully lift out the entire fuel pump assembly
- Replace just the sending unit if possible, or the whole assembly if needed
- Reassemble everything in reverse order, making sure all seals are properly seated
Take your time with this repair because fuel fumes are dangerous. Work in a well-ventilated area with no open flames or sparks nearby.
5. Test and Replace the Instrument Cluster
If you’ve ruled out everything else, the problem lives in your dashboard. You can test this by swapping in a known-good cluster from a junkyard or borrowing one from another Navara if you know someone.
Removing the cluster isn’t hard. Disconnect your battery first, then remove the trim pieces around the cluster. There are usually just a few screws holding it in place. Pull it forward gently and disconnect the wiring harnesses from the back.
Install the test cluster and see if the fuel gauge works. If it does, you’ve found your culprit. You can either replace the whole cluster or send yours out for repair. Some shops specialize in rebuilding instrument clusters and can fix the specific gauge that’s failed.
6. Contact a Qualified Auto Electrician
If you’ve tried everything and the gauge still won’t cooperate, it’s time to bring in someone with specialized diagnostic equipment. Auto electricians have tools that can read signals throughout the fuel gauge circuit and pinpoint problems that aren’t obvious to the naked eye.
They can also check for issues in the body control module or other computer systems that might be affecting gauge operation. Sometimes the problem is in a place you’d never think to look, and that’s where professional experience really pays off.
Wrapping Up
A dead fuel gauge in your Nissan Navara doesn’t have to keep you guessing about your fuel level. Most of these fixes are within reach if you’ve got basic tools and a couple of hours to spare. Start with the easy stuff like fuses and connections before moving on to the more complex repairs.
Your truck depends on you keeping track of maintenance issues, and a working fuel gauge is part of that equation. Fix it properly, and you’ll drive with confidence knowing exactly when it’s time to hit the gas station.